
“Product is not an option, it’s a necessity!!” is a motto of Sam Villa’s, Co-Founder of Sam Villa and Global Artistic Ambassador for Redken. Watch him create a simple 3 Strand String Braid and turn it into a unique hairstyle with just two styling products.
“By making one of the 3 strands smaller it acts as a sort of “string" to hold the other two larger strands and with the help of product, allows hair to slip up and create visual texture. It’s a similar concept to a slide up braid,” says Villa.
Things to Remember:
1. Prep Product: Redken Braid Aid 03 is specifically designed to add smoothness and grip so braids, twists and knots are easier to create and last longer. It’s a necessity!! Cover elastics with it before twisting to add a buffer to protect hair from breakage too!
2. Finishing Product: Redken Triple Take 32 is an extreme high hold hairspray without the crunch factor. It provides 24-hour control and humidity resistance so styles last longer and look better.
3. Pinning: When pinning hair up, insert the pins where fingers are holding the hair for maximum stabilization.
4. Sectioning: The amount of hair in the sections determines the size of the braid.
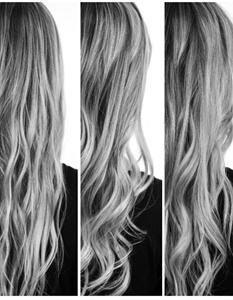
5. Pancaking: By using fingers to gently pull apart sections of a braid, it instantly gives the illusion of a fuller textured design.
“In this look, the pancaking creates an almost curled effect…and the product used to prep and finish the braid will ensure that it stays put!” adds Villa.
Photography: Courtesy of Sam Villa