
Source: Courtesy of Sexy Hair
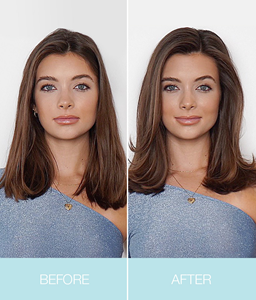
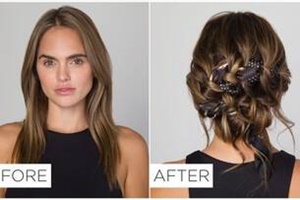
Learn how Sexy Hair Visionary Team Member and #ItTakesAProTeam Artist Shayla Robertson (@samirasjewelry) creates this stunning side overlay braid, and take your braiding skills to the next level. Robertson shares her advanced braiding techniques along with her fave SexyHair artistrypro products to create the look. Check out the step-by-step below.
STEP-BY-STEP:
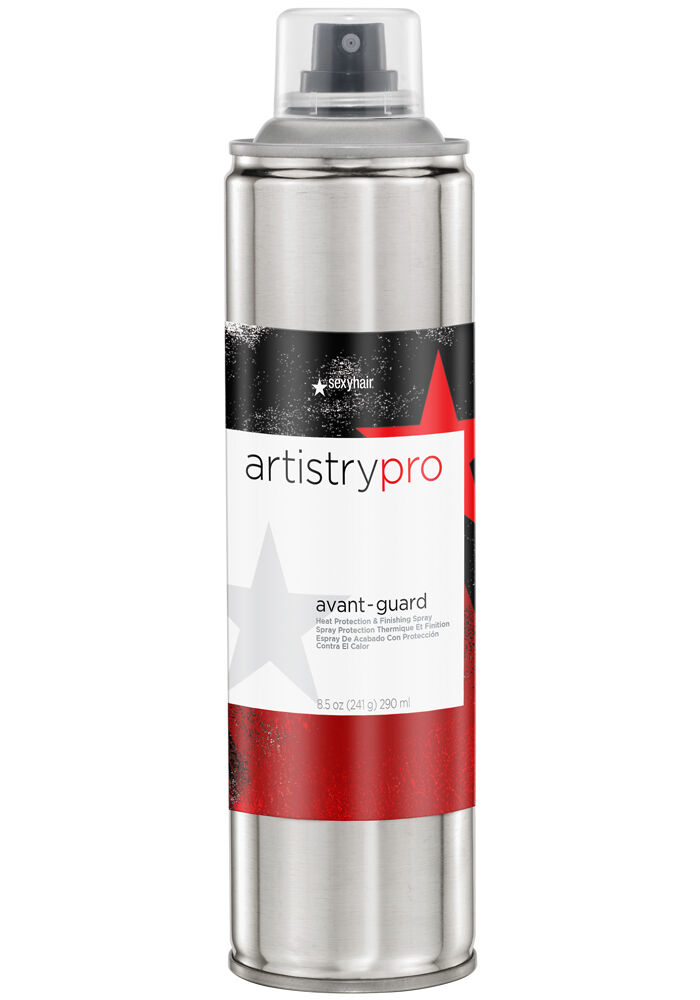
Start by applying artistrypro avant-guard Heat Protection & Finishing Spray and crimp the entire head from roots to ends with a medium crimping iron.
On Back Profile
• Section from nape to behind each ear and connect diagonally below the crown.
• Apply artistrypro avant-guard Heat Protection & Finishing Spray to entire back section to prep for curling.
• Using vertical subsections, create curls from the base towards the direction of center back, and pin each curl at root to let them cool off.
On Top Profile
• Create a center zig-zag part from the frontal hairline to the crown.
On Crown
• The perimeter of the crown section is rounded and includes only the crown area. Section into three subsections horizontally and apply artistrypro avant-guard Heat Protection & Finishing Spray.
• Gently backcomb the base of each starting at the top of the crown.
• Create three vertical subsections in the top of the crown.
• Beginning with the middle subsection, divide in half vertically again and loosely create a rope braid, twisting inside towards center.
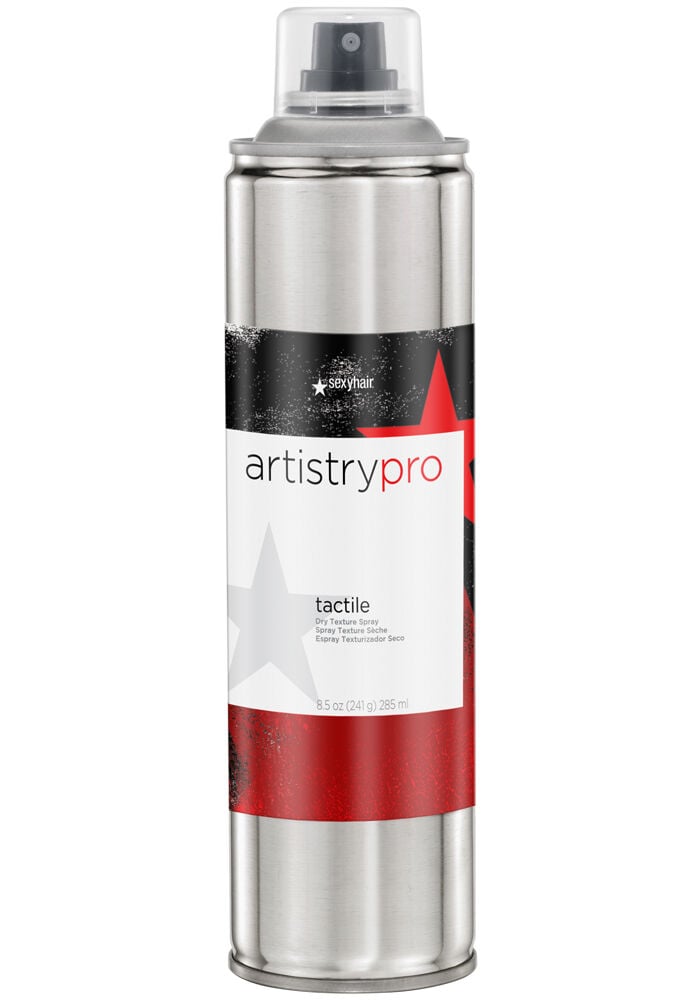
• Apply artistrypro tactile Dry Texture Spray while expanding right twist braid and pin into center.
• With the subsections left and right of center, repeat same movement, product application, expansion and pin to opposite side of crown section.
• Middle and lower crown sections are repeated with the same movement, product application, expansion and pin to opposite side of center subsection.
Creating Flower Shape
• In back profile between curls and twisted rope braid below crown, horizontally create three low tension three-strand braids.
• Expand each on right side of braid only before securing ends with elastic.
• Individually wrap each braid at its base, with light tension and exposing expanded side of braid and pin at base.
Back Profile
• Overall movement and finished look to be on right side, in front of or at shoulder. Unpin all pre-curled hair.
• Apply artistrypro tactile Dry Texture Spray and loosely expand each while building width and volume to the right.
• Left of back profile, gently separate curl and shape each into and on right side and apply artistrypro avant-guard Heat Protection & Finishing Spray for hold and shine.
Top Profile
• Drop hair on both right and left of zig-zag center parting and backcomb base at root.
• Apply artistrypro avant-guard Heat Protection & Finishing Spray and vertically curl all hair on right back, away from face.
• Shape and mold each curl into over shape on right side, pin if needed.
• Build height and wave shape off frontal hairline and mold all remaining hair into overall shape on right.
Apply artistrypro tactile Dry Texture Spray to detail curls, volume and texture
To finish, apply artistrypro avant-guard Heat Protection & Finishing Spray for hold and shine.

Source: Courtesy of Sexy Hair


.jpg?mw=300&mh=300&as=1)